Monday, 29 August 2011

Foraging with family... and the ultimate in comfort food

I've just returned from a lovely week staying with my Mum in the North East, avoiding doing anything even vaguely related to work. In fact, I am proud to say that the past week has been spent almost entirely in walking along the beach, paddling in the sea, and engaging in the mind-expanding pursuits of Scrabble and Trivial Pursuit. Oh, and... foraging for blackberries! There is something supremely satisfying about preparing food with ingredients you have grwon, or even that you have just collected yourself.  

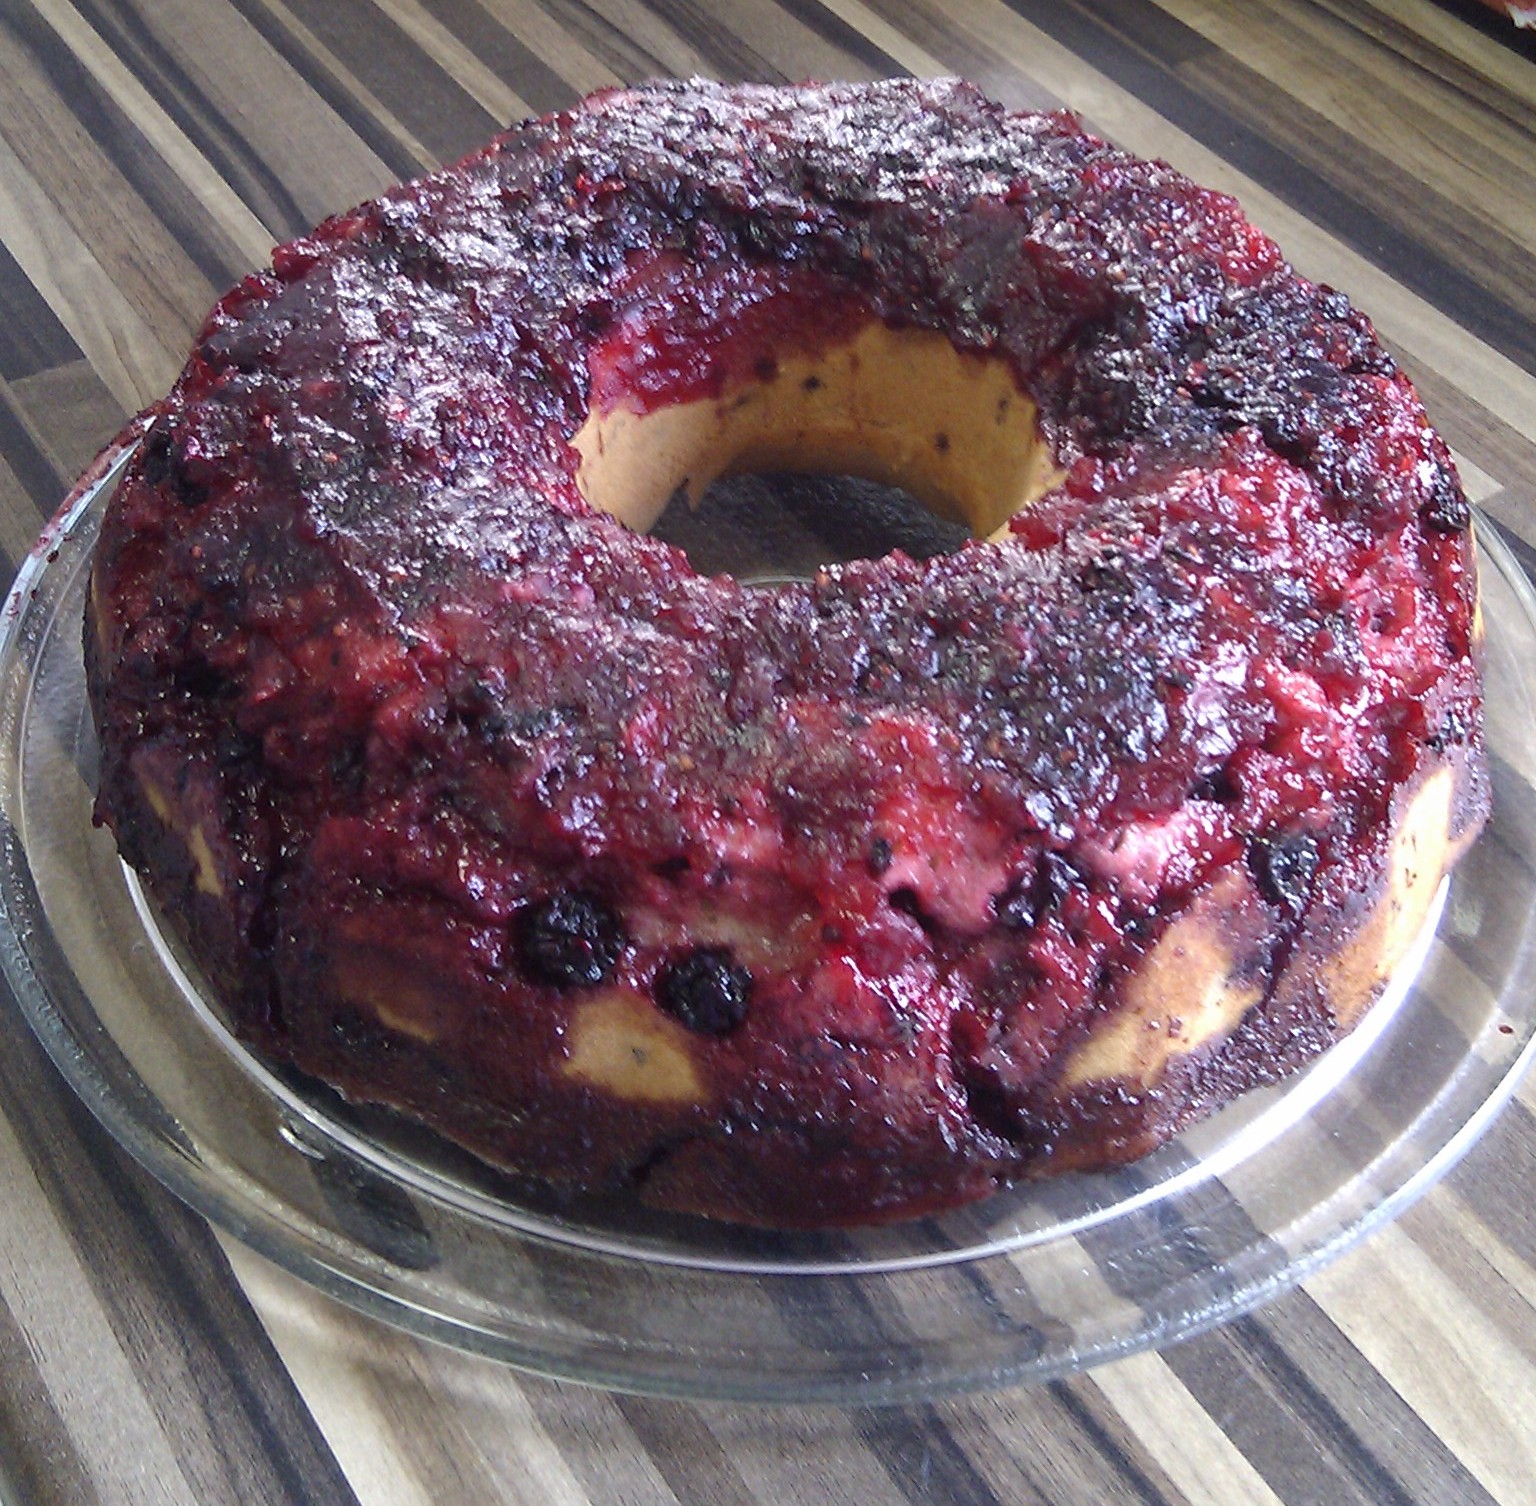
Since I am also now finally the proud owner of a beautiful non-stick Bundt pan (doughnut-shaped baking tin), it was only a matter of time before the following cake-speriment was underway. The result is a comforting cake of such divine sweetness, tartness and subtle spiciness that it just had to be shared. As a summer pudding, this cake is delicious served still warm from the oven with a generous dollop of thick clotted cream. For winter - serve piping hot and drenched in custard!


Blackberry and Apple Comfort Cake

Sponge ingredients
8oz butter
8oz sugar
4 eggs (beaten)
8 oz self raising flour
4oz plain flour
1 level teaspoon cinnamon
1 tblsp citrus zest
4 tblsp blackberries

Syrup ingredients
3 tblsp sugar
2 tblsp lemon juice
1 cooking apple (half cubed small, half thinly sliced)
½ teaspoon cinnamon
4 tblsp blackberries


Method:

1. First of all, start on the syrup mixture. Combine the sugar, lemon juide, apple and cinammon in a pan over a moderate heat. Stir gently until the sugar is completely dissolved and the mixture begins to gently bubble and the outside edge of the apple chunks goes a little bit squishy. Then add in the blackberries and continue to hear for another 3 minutes or so. They should release lots of extra juice, so that you're left with a relatively thick syrup. Leave this to one side as you prepare the sponge mix.

2. Cream together the butter and the sugar, and when they are light and fluffy, start to add in the beaten egg, stirring continuously. Add a little of the flour as necessary to stop the mixture from curdling.

3. Sift the remainder of the flour into the mixture, and add the cinnamon and zest. Stir thoroughly.

4. Finally, add the blackberries, and stir in, taking care not to squash or damage them. This cake works best when there are whole, juicy blackberries to look forward to inside the cake.

5. Spoon the syrup evenly over the bottom of a greased Bundt tin, then add the cake mixture on top. Make sure to push the sponge mixture down a little, as this will force some of the syrup up, to coat the outside of the cake.


6. Bake in a pre-heated oven for about 30 minutes at 160 degrees celcius. Remove from tin when still warm, to ensure that the syrup does not fuse to the tin. If any fruit or syrup is left behind, just scoop this up and spread back over the top of the cake.


Thursday, 18 August 2011

The story of the wedding cake (day 3)

Hurrah! The exciting day of construction and decoration has arrived!

1. I inserted dowel rods into the bottom two tiers to support the tiers to be placed above them, so that the sponge would not have to take the weight.  


2. I then inserted a long dowel rod through the centre of the bottom tier, which would act as a central skewer, keeping all three tiers securely together...


... then lowered the middle tier onto the rod...


... and then added the top tier.


I offset the tiers slightly to the back of the cake, so that there would be slightly more openness to the front of the cake.

3. I then made the final touches to the finish of the icing, smoothng and polishing it well.


4. Finally, the most fun part: decoration! Red and gold are the traditional colour for Hindu ceremonies, so I started with a sheer red ribbon to the bottom of each of the tiers, as this was a good way to tidy the joins between tiers without using piped royal icing. I thought this would give the cake a more contemporary feel.

5. I then started to add the gold leaves and red roses, using an edible glue adhesive. Some of the larger, heavier roses were more difficult to attach in this way, so I used royal icing. This seems to give a more sturdy hold even than purpose-made edible glue.   


6. I made a small mound of roses and leaves on top of the top tier, and then a small bunch of roses on opposite sides of the bottom two tiers - nothing too symmetrical, as I preferred a more natural look.

Here is the finished item.


Wednesday, 17 August 2011

The story of the wedding cake (day 2)

Another day, another cake-making extravaganza! I actually dreamt about cakes last night, but I have to say in all honesty that today was the day I was least looking forward to in the cake-making process. Although the wedding cake starts to take shape once it has been filled and iced, todays tasks were all quite tricky ones - splitting the cakes evenly, filling them, and finally covering them in a nice smooth layer of sugarpaste icing. In fact, I spent the entire day in the kitchen again, yet the overall appearance of the cakes changed very little - going from uncovered sponges to fully iced cakes.

1. However, first thing's first, and task number one was rather an artistic one - painting the rose leaves gold (both sides, so that I could create a 3D design on the top of the cake).


2. After that, the task was to split each tier of the cake in half, and then stick back together with a layer of buttercream and a layer of warmed Hartley's strawberry jam. For good buttercream icing, I think it's vital to sieve the icing sugar (no matter how tedious this is) and to whisk the buttercream well.

3. The next step is to paste with Golden Syrup as an adhesive for a finely rolled layer of sugarpaste icing. I've heard that some people use white fat to stop the sugarpaste from sticking to the work surface, but that freaks me out a little, so I prefer to use sieved icing sugar.


I used both my hands and a wonderful device called a 'smedger' to smooth the icing on the cakes, and to make the edges clean.

And that was about it for today: All three tiers filled, iced and smoothed. The hardcore construction and decoration are tasks for tomorrow.

Tuesday, 16 August 2011

The story of the wedding cake (day 1)

First of all, huge apologies for leaving it so long between posts. I spent the first half of August doing  (and the second half of July preparing for) a trip to southern Belarus, volunteering with Chernobyl Children's Project (UK), and without any access to the internet (or non-radioactive ingredients, but that's beside the point). Some Belarus-insipred recipes will doubtless follow, but in the meantime the next few entries will surely make up for the recent lack of action on my part.


My first culinary project since returning has been the challenge of creating a three-tier maderia wedding cake to feed about 130 people, for my friend A's Hindu wedding ceremony. Welcome to the story of the wedding cake...

Day 1

1. The first step was to bake the top two tiers - 6" and 9" madeira cakes, made according to my 'perfect madeira cake' recipe. Luckily these just about managed to fit together on one shelf of my oven, leaving the top shelf free for a baking sheet to shield them, and the oven floor clear for a bowl of water to ensure that they would be super moist.


2. Whilst these were baking in the oven, I started making the icing roses to decorate the cake. Before leaving for Belarus, I had already mixed the perfect shade of deep red icing, using the red of the cake ribbon and the silk petals that the bride was using for table decorations as a colour reference.


I had initially thought about hand-making the roses from scratch, but soon realised that for the amount I would need, this would be an impossibly time-consuming task, so I invested in a silicone rose mould - worth every penny! Just squelch the icing into the mould, wiggle out, and you're done! Rubber gloves are highly recommended for this stage, since the gel food colouring is so potent that it can easily dye skin. Many thanks to M for her slave labour assisting with the roses!


3. As a side project, I started thinking about what I could do with the juice of the 10 lemons I'd zested for the wedding cake (but that's another story entirely).


4. Top two tiers successfully baked, and time to start on the almighly bottom tier, for which a whopping 15 eggs were needed. The lemon in the bottom picture gives and idea of the scale of the thing when it came out of the oven.


And with the newspaper removed, you can see just how much the cake rose above the line of the tin...


So - day one ends. All three tiers are baked and wrapped airtight. The majority of the roses are moulded, and I have cut some rose leaves out of ivory coloured icing, ready to paint gold tomorrow.


The kitchen is covered in the compnonent parts of a wedding cake, and the whole house smells like a confectionary shop. Sweet dreams!

Wednesday, 6 July 2011

Roasted pepper and tomato soup with rosemary

I made this soup because I had lots of fresh rosemary to use and wanted something wholesome and comforting. It was made with green peppers, because that's all I had in, but I am sure it would be even tastier if red ones were used instead. The quantities below would serve 3-4 people as a starter.

Ingredients:
Vegetables when roasted, and garlic cloves de-skinned

For roasting
1 large onion
1tsp fennel seeds, crushed
1/2 tsp chilli flakes
olive oil
3 garlic cloves (in their skins)
2 green peppers
3 sprigs rosemary


To finish
salt and pepper to taste
1 tin tomatoes
1/2 cup fake bacon bits, rehydrated in one cup of water


Method:

1. Combine all of the ingredients 'for roasting' in a large oven tray and roast at 200 degrees celcius for about 15-20 minutes.

2. Let the vegetables cool slightly, and when the garlic cloves are cool enough to handle, peel them from their skins and pull the rosemary leaves off the stalks (discard the stalks).

3. When sufficiently cooled, whack the whole lot in a food processor, together with the fake bacon pieces and most of the water they are sitting in. Blend well. Add in the tomatoes and the remaining 'bacon' water and blend again until smooth.

4. Transfer the soup to a pan and heat through on the hob. You will probably want to add additional water (between 1-3 cups, depending on your preference) to achieve the deisred consistency. Add salt and pepper to taste, and serve with chunky bread.

Sunday, 3 July 2011

Cheese and rosemary savoury seeded cupcakes

These savoury cakes are a brilliant lunchbox treat. This recipe makes about ten cakes, but they can be successfully frozen, so it's worth multiplying the mixture and preparing a mammoth batch.


Ingredients:
3oz Stork
2 eggs (beaten)
2oz self raising flour
3oz mature cheddar, grated
1 sprig rosemary (blanched and finely chopped)
splash milk
spoonful mixed seeds (about 25g) - pumpkin seeds, pine nuts, sunflower seeds etc

Method:
Pre-heat the oven to 180 degrees celsius.

1. Cream the Stork until light and fluffy, then gradually stir in the eggs.

2. Stir in the flour and the cheese, and mix in well.

3. Add in the chopped rosemary, seeds and splash of milk.

4. Spoon the mixture into cupcake cases and bak in the oven for about 15-20mins at 180degrees celsius. Don't worry if the mixture bubbles or looks strange whilst baking.

5. When cooked, leave to cool on a wire rack covered in two layers of kitchen roll. This will help to absorb some of the fat from the cheese.

Sunday, 26 June 2011

Bulgar wheat salad

I'm not a fan of stodgy fare at the best of times, and particularly when the weather is warm and sunny. This recipe is just the kind of guilt-free, veg-filled, colourful food heaven that I like to indulge in over summer.


Serves 4-6 people

Ingredients:
200g bulgar wheat
dessertspoonful of onion pickle for popadoms (I had some left over in the fridge, but you can use one small onion, finely chopped and sprinkled with lemon juice instead)
the juice of one lemon
half a cucumber
5 ripe tomatoes (vine tomatoes are best)
one cup of garden peas
2 large carrots, grated
2 dessertspoons of spinach puree (puree is easier, but fresh spinach, finely chopped will also work)

Method:

1. In a large bowl, mix the onion pickle into the dried bulgar wheat. Add the lemon juice, then just cover with boiling water. Cover the top of the bowl with a plate to keep the steam in. The bulgar wheat will be rehydrated in about 30 minutes.
2. In the meantime, cube the cucumber, cut the tomatoes into wedges, grate the carrots, and cook your peas if you are using frozen ones

3. When the bulgar wheat is rehydrated, add the spinach, cucumber, tomato, carrots and peas, and stir gently, but thouroughly. Add salt and black pepper to taste. 


Personally, I tend to like the fresh taste of the salad 'as is', with just the lemon juice and black pepper to set off the taste of all of the fresh ingredients. However, if you prefer something with a bit more punch, then balsamic would work really well on this salad, as would a nice fruit vinegar.